|
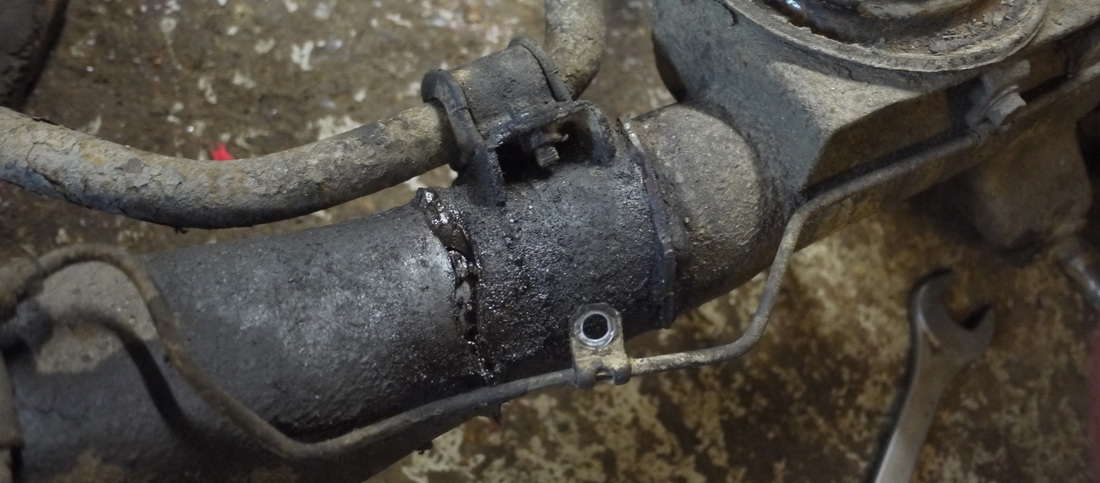
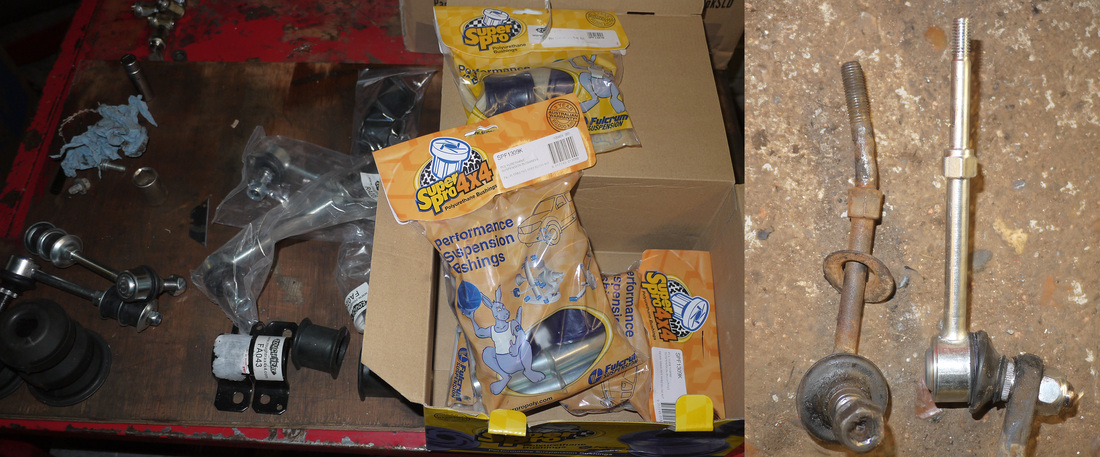
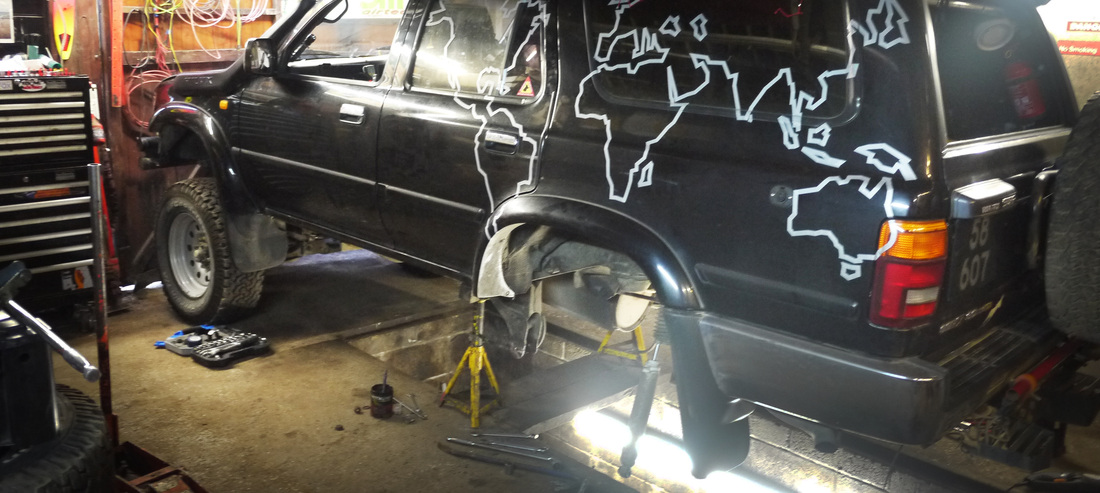
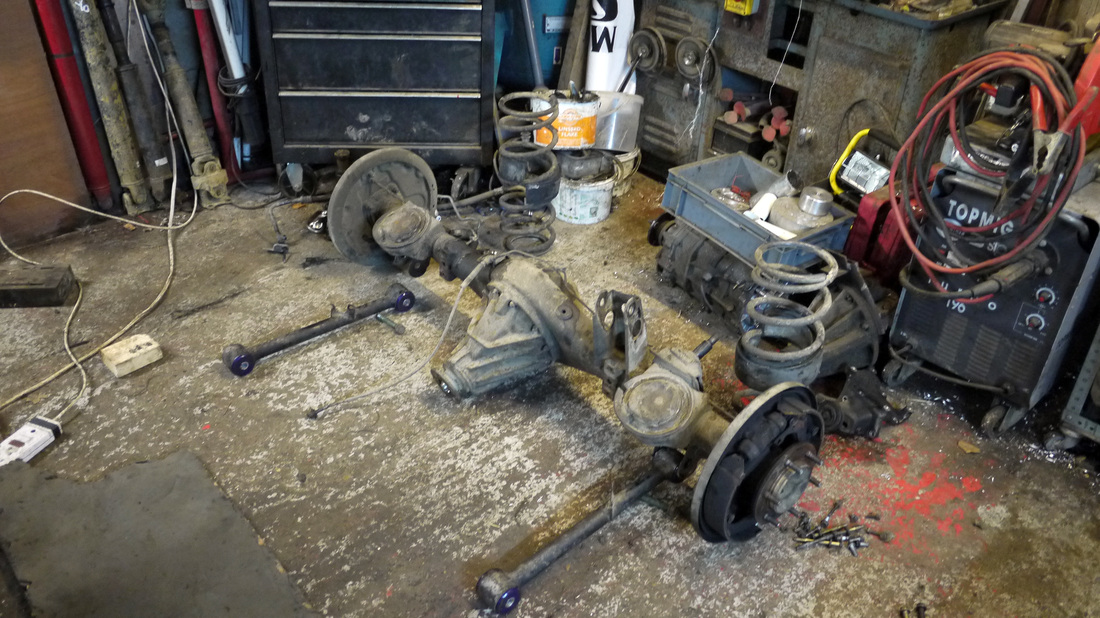
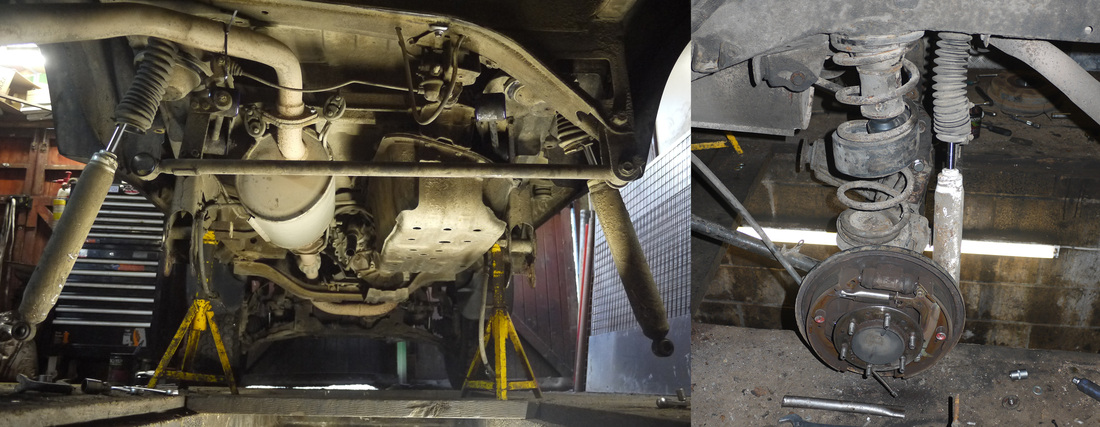
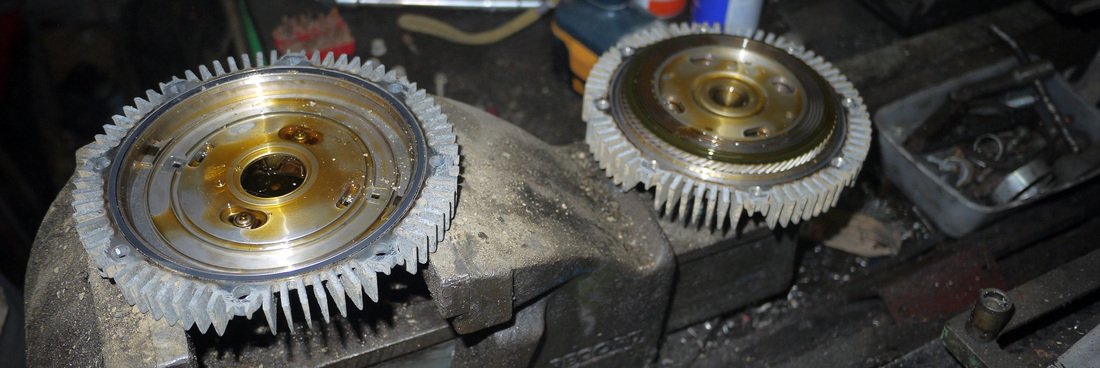
Prior to our Truckin’ hell we’d made the decision to head straight back home; unfortunately we were 8000 miles away in Mongolia. In hindsight our departure from Mongolia was probably a little too hasty; a bit more Dakar Rally than Mongol Rally. Bad roads coupled with some wannabe Sébastien Loeb-esq driving damaged Bee-Bee’s rear axle. Luckily my daily under-car crawl exposed the hairline crack in the right-hand side upper trailing arm mount early on. The part that had cracked is essentially one of four main connections holding the entire rear axle in place. The discovery was an unnecessary blow – talk about kicking a man when he’s down! Due to the remoteness of our location we had no choice but to lash up the mount with a heavy-duty ratcheting cargo strap and hope for the best. I kept a close eye on it over the following 300 miles of bad road. It gradually got worse, by the time we arrived in Russia the mount had completely sheered off but luckily the pot-holed corrugated dust roads of Mongolia had been replaced by relatively smooth Russian tarmac. The ratchet strap was now holding everything tight in place. A weld job would mean we’d lose a valuable day’s driving and a complete axle replacement would mean we’d lose a good week. Given the situation and the need to be with my parents we re-evaluated our options and decided the temporary fix was secure enough to last the journey home; it did. Macgyver would be proud! On our return to the UK we started the process of getting Bee-Bee back into ‘adventure’ shape. A new axle was sourced from Jap 4x4 Parts and a visit to the Hilux Surf Forum secured a date with Tony the Hilux Surf oracle. Whilst the axle was off it made sense to replace anything that might have already taken a battering. A visit to Rough Trax secured a Super Pro polyurethane rear panhard rod & trailing arm bush kit, some new bump-stops, anti-roll bar bushes and a couple of front anti-roll bar link rods which had also taken a battering. The axle swap was fairly straightforward, especially with Tony’s knowledge. One area that could have been problematic was swapping the trailing arm bushes. Luckily Tony has access to a 25 tonne press and a lathe. The press ram was a little too large for the bushes so Tony hit the lathe and knocked up a couple of male and female adapters to fit either side of the bushes. With the press the old bushes popped out pretty easily and the new ones straight in. We had trouble undoing a couple of bolts, reminding me of the importance of Copaslip, nothing the reciprocating saw couldn’t deal with though. When replacing axles on 4x4 vehicles it is important to check the diff ratios are the same, if not you’ll have back wheels that’ll want to turn at a different speed to the front wheels making for a very interesting ride. On a Toyota this information can be found on the VIN plate in the engine bay. The axle code is four digits, ours is G294, this translates to a differential size of 8.0", final ratio of 4.1, and a 4 pinion set up. This website was very useful for translating the code. You can also double-check the ratio as Toyota colour code the end of the diff, double check the two axles are the same and you should be right! When fully loaded Bee-Bee has always had a bit of a saggy back end. Whilst we had the springs out we fitted a pair of spring assisters to help firm up the already upgraded springs. A couple of days in the workshop gave us a great opportunity to not only replace the axle but complete a few other jobs refining Bee-Bee’s status as number one adventure mobile. One modification we carried out was to remove the air-con unit and air-con radiator. This would improve access to the alternator and improve airflow through the main radiator as well as removing one of the three fan belts (less to go wrong and less to carry). The left over air-con electric radiator cooling fan is now acting as an emergency, manually operated cooling fan aimed at the main radiator. Whilst the main radiator and fan were all out we topped up the oil in the viscous fan. This modification is a very simple but effective one. The fan on these vehicles is of the viscous type. This means that is has an oil operated clutch in it. When the engine heats up, the oil changes consistency and the fan starts to grip more and turn faster. The oil in the fan can be replaced with a different consistency making it kick in slightly earlier, cooling the engine more effectively.
The mods to the cooling system now make a noticeable difference to Bee-Bee’s running temperature and we have the option of turning on the electric auxiliary fan when the temperature starts to rise too. If you want to read more about some of the other cooling mods we’ve made to deal with the extra weight, click here. Andy
0 Comments
Your comment will be posted after it is approved.
Leave a Reply. |
Archives
July 2020
Categories
All
|
Proudly powered by Weebly


 RSS Feed